Autoclave Safety

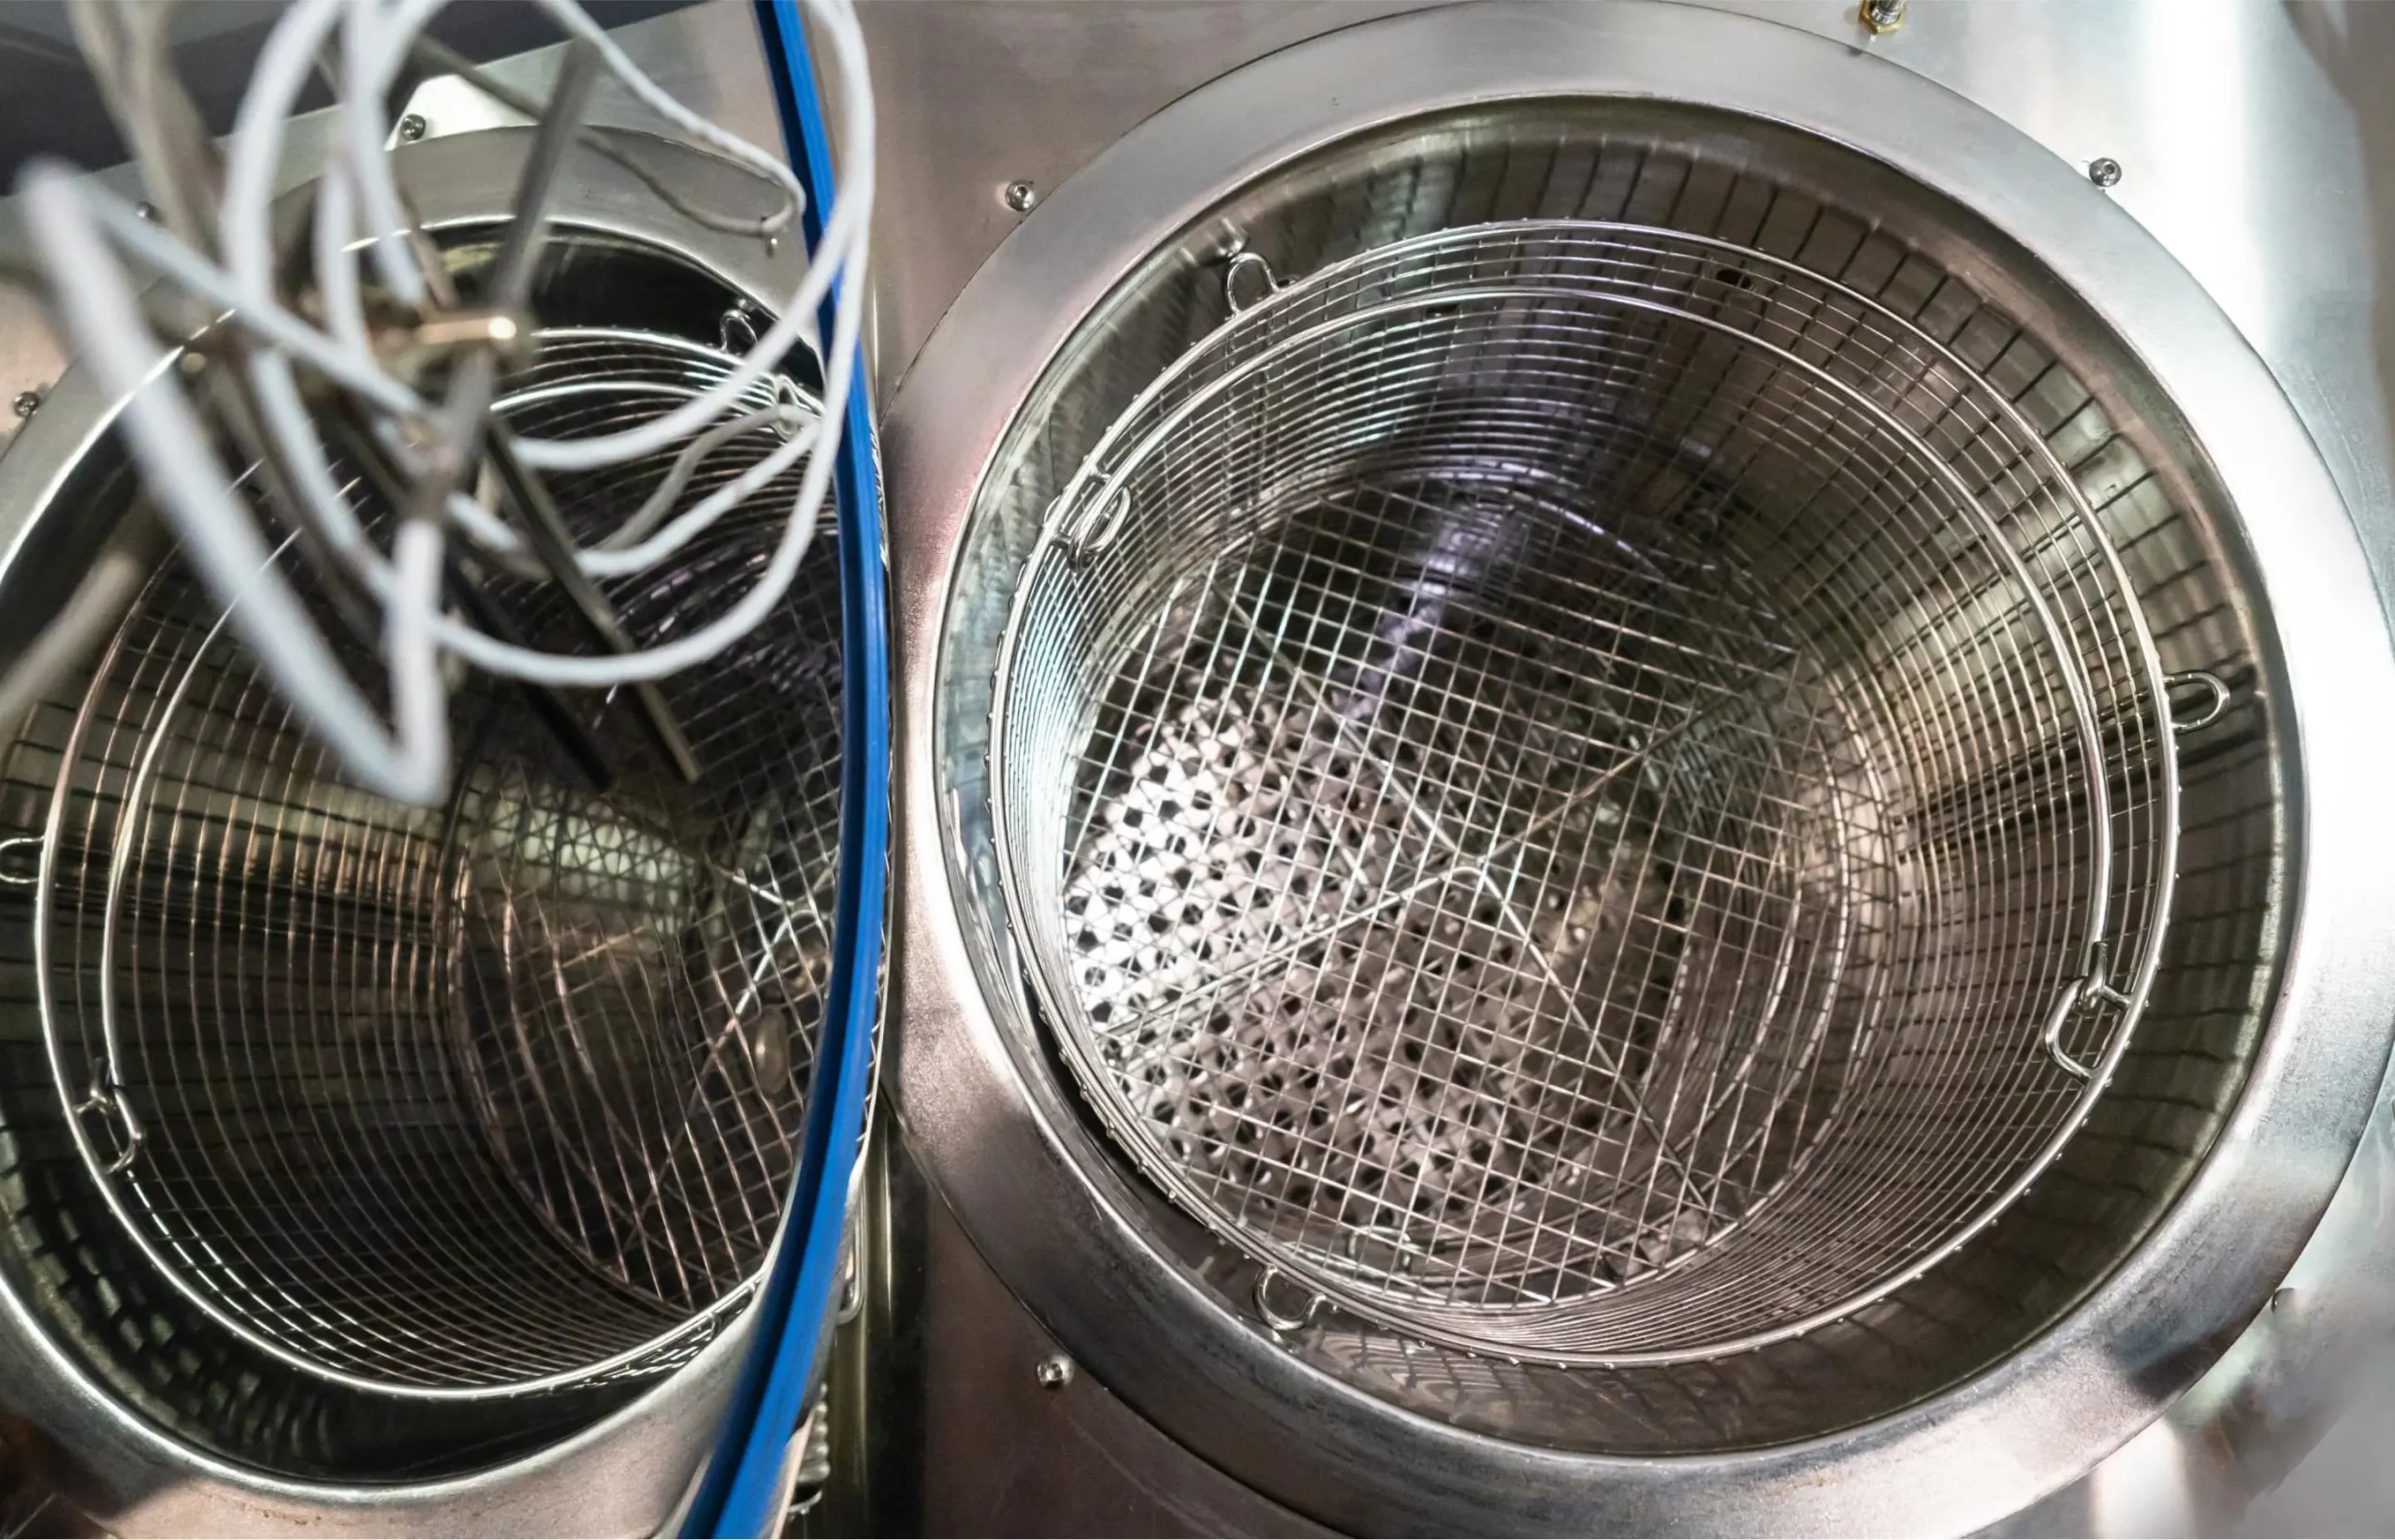
Autoclaves are used in many areas of campus to sterilize materials. This piece of equipment uses high pressure and steam to kill microorganisms and inactivate biological materials.

Overview

Due to the steam and pressure that are created during operation, precautions should be taken to prevent burns or other accidents. Potential risks associated with autoclave use include heat and steam burns and bodily injury due to glassware breakage from temperature stresses. Exposure to biohazardous materials can also occur if the biohazardous waste is improperly packaged or manipulated. As a result, only those trained should use this piece of equipment.

Injuries can be prevented by

01

Wearing appropriate personal protective equipment (PPE) which includes lab coat, eye protection and heat resistant gloves.

02

Loosening screw caps on bottles and tubes of liquids beforing autoclaving. Filling containers with liquids no more than ¾ full to avoid boil-over.

03

Not opening the autoclave if there is water out of the bottom. Equipment malfunctions or clogged drains can cause a buildup of hot water.

04

Waiting for the temperature to get below 80°C and the pressure to reach zero before opening the door to avoid steam burns.

05

Keeping one's face away from the door as it is opening. Escaping heat and steam may burn face.

06

Loading the autoclave according to manufacturer's operating instructions.

General Precautions

Training

All lab personnel using the autoclave should be trained before attempting to use the equipment. This training can be done by the Principle Investigator, Lab Safety Representative or any experienced person in the lab.

Personal Protective Equipment

Standard PPE is required when using the autoclave which includes lab coat, gloves and safety glasses. Additional PPE include face shield and heat resistant gloves.

Injuries

  • In case of exposure to steam or hot water, immediately cool the affected area with running water. Report incident on Report it
  • Based on the severity of the injuries contact emergency services 911 (012-808-0911 from mobile) to get treatment at KAUST Health.

Prohibited Items

  • Do not autoclave the following items.
    • Corrosives (Bleach, Acids, Bases, Phenol, etc).
    • Flammables (Ethanol, Methanol, Chloroform).
    • Animal Carcasses.
    • Radioactive Materials.
    • Materials that are not compatible with high heat and pressure

Before Using the Autoclave

Pre-check Before Loading

  • Make sure gaskets, seals and drain are in good condition and free of dirt or debris.
  • Make sure the autoclave is free of items left by a previous user.
  • Check manual for autoclave specific pre-check requirements.

Loose Caps to Release Pressure

Prevent shattering by loosening the caps of both empty and liquid filled containers before loading. Containers should only be filled ½ – ¾ full to allow vapor expansion and to prevent boil-over at the end of the autoclave cycle.

Use Autoclave Safe Containers/Bags

  • Certain plastics cannot be autoclaved. Autoclave compatible plastics can be identified via the manufacturers website or the imprint on the bottom of the container.
    • USE: Polypropylene (PP, recycle #5), Polycarbonate (PC)
    • DON’T USE: Polyethylene (PE, recycle #1), High-Density Polyethylene (HDPE, recycle #2), Polystyrene.
  • More information on autoclave compatible plastics can be found under the “Physical Properties” section of the ThermoFisher website.

Loading the Autoclave

Secondary Containment

Always place materials in secondary containment before placing it into the autoclave. Secondary containment should be heat resistant, have a solid bottom and walls to catch spills. Trays or tubes that are cracked, warped, or compromised in anyway should not be used.

Packing Autoclave Bags

  • Use only autoclave rated bags. Not all biohazard bags are rated for autoclave use.
  • Avoid packing bags tightly and do not allow the bags to touch the walls of the autoclave. Heat and steam should be able to circulate freely.
  • Loosely close the bags to allow steam penetration.

Autoclave Verification (Autoclave Tape/Biological Indicator)

  • Place autoclave tape on contents being sterilized and a verification of sterilization.

Note: Autoclave tape only measures if the autoclave has reached 121°C it does not prove that organisms present have been killed. It is required that autoclaves be tested monthly using a biological indicator to confirm that the autoclave is working properly. Record the results of the test on the autoclave test log sheet.

Autoclave Cycles

Gravity – used for glassware and instruments.

  • This cycle fills the chamber with steam and holds it at a set pressure for a fixed time. At the end of the cycle, the pressure is rapidly released.

Liquid – used for liquid filled containers.

  • This cycle is similar to gravity as it fills the chamber with steam and holds for at a set pressure for a fixed time. This difference is that the pressure is released slowly at the end of the cycle. This slow exhaust prevents the liquids from boiling over from the sudden change in pressure.

Unloading the Autoclave

  • Wait until the pressure gauge reaches zero before opening the autoclave.
  • Put on appropriate PPE.
  • Open the door cautiously and allow the steam to escape before reaching inside.
  • Let liquids sit for 10-20 minutes before removal.

Guide

The guide below is not intended to replace hands on training with autoclaves. Due to the differences between makes and models of autoclaves it's recommended that lab personnel read the owner's manual before using for the first time.

Items Liquids Glassware and Dry Items Biological waste (Solid)
Cycle Type Liquid
Gravity Gravity
Preparation Loosen caps.
Fill containers no more than 75% Fill secondary container with enough water to cover the bottom of the container.
Wrap and lay in secondary containment. Keep bag open slightly for steam penetration.
Temperature 121°C
121°C 121°C
Treatment Time 30 mins for volumes <100mL
40 mins for volumes >100mL
30 – 60 mins 60 – 120 mins depending on the load size and packing density.
Exhaust Cycle Slow
Fast Slow
Notes Let items cool before moving. Hot bottles can explode.
Glassware with deep scratches may crack Place in yellow biohazard bin at the end of cycle.

Useful Resources